
Homemade Pickled Ginger (Gari) Recipe – “Easy, fast & healthy”
Homemade Pickled Ginger (Gari) Recipe – “Easy, fast & healthy”
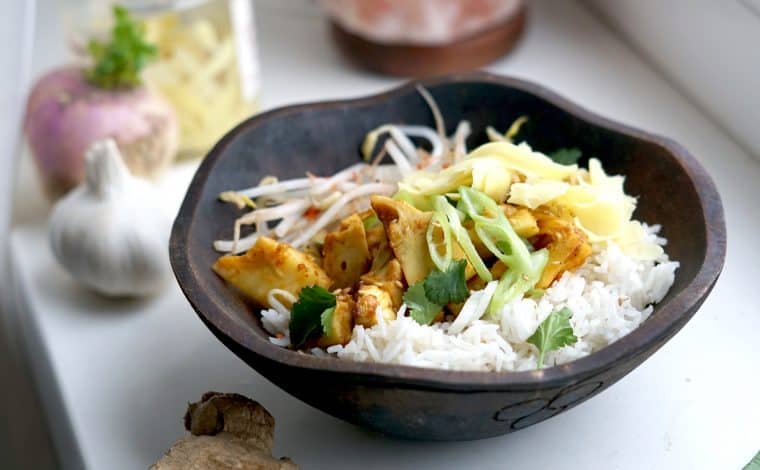
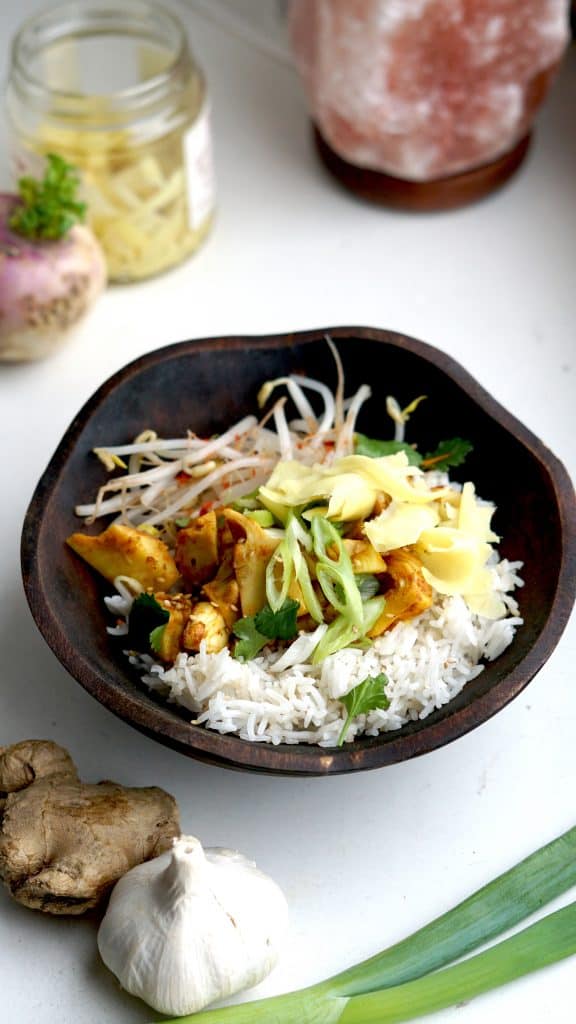
The rainy and windy days here in Amsterdam require a well functioning immune system these days. I rescued a big batch of ginger from the last Taste before you waste session on Monday. While experimenting a lot with pickling and fermentation these days this recipe came back into my mind. The homemade pickled ginger or as the Japanese call it “Gari” is a fairly easy and quick to make recipe. A good peeler and just 4 ingredients are needed. In that way, you preserve the ginger and take out a little bit of the spiciness. Not only on sushi but also on curries, stews, and soups – the pickled ginger is an immune booster and anti-inflammatory. The guide to pickled ginger is on our webpage now and the jackfruit stew recipe follows soon.
Ginger, in many forms, is used to reducing digestive ailments like gas and nausea. The World’s Healthiest Foods suggests that the root contains antioxidant effects and anti-inflammatory compounds that improve gastrointestinal distress. Motion sickness and morning sickness in pregnancy may be reduced by consuming any form of ginger, including pickled ginger.
The pickled ginger will last, properly stored in the fridge up to one year.
The secret of this recipe hinges on using fresh young ginger. The young ginger’s skin is very thin and easy to peel with your fingers or a spoon and is thinly sliced and then marinated. If you can not get young ginger, or just like me rescued the older once, don´t worry that works also fine.
I think you guys are going to fall in love with this Homemade Pickled Ginger (Gari) Recipe recipe and if you give it a try, let us know! We love seeing your comments, and especially your Instagram photos. Just tag them #Truefoodsblog so we can give them a look.
How to do:
1. Assemble all the ingredients
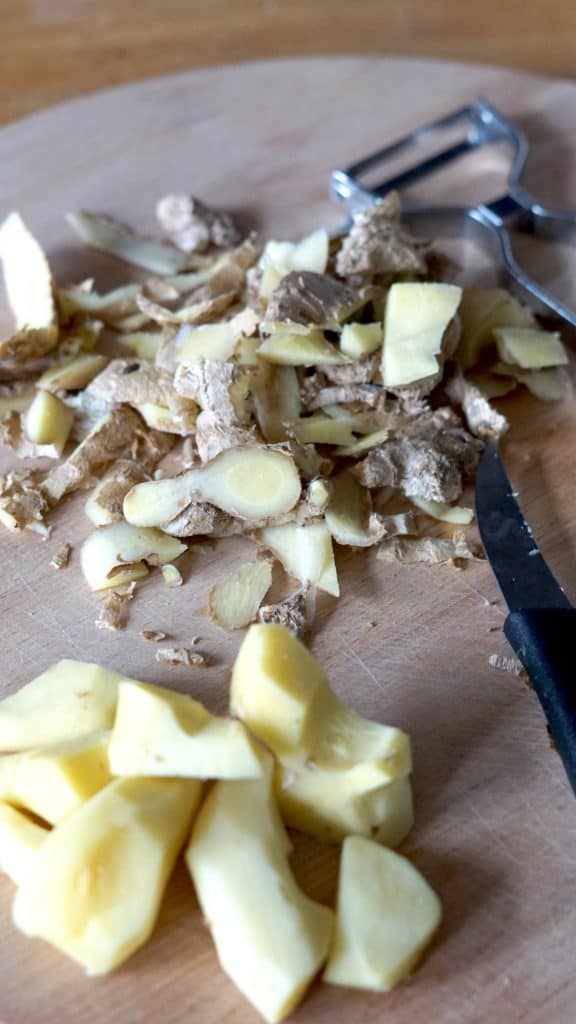
2. Clean the ginger root and scrape off any brown spots with a spoon. Then scratch off all the skin with a scraper, or peel the older ginger with a hand peeler.
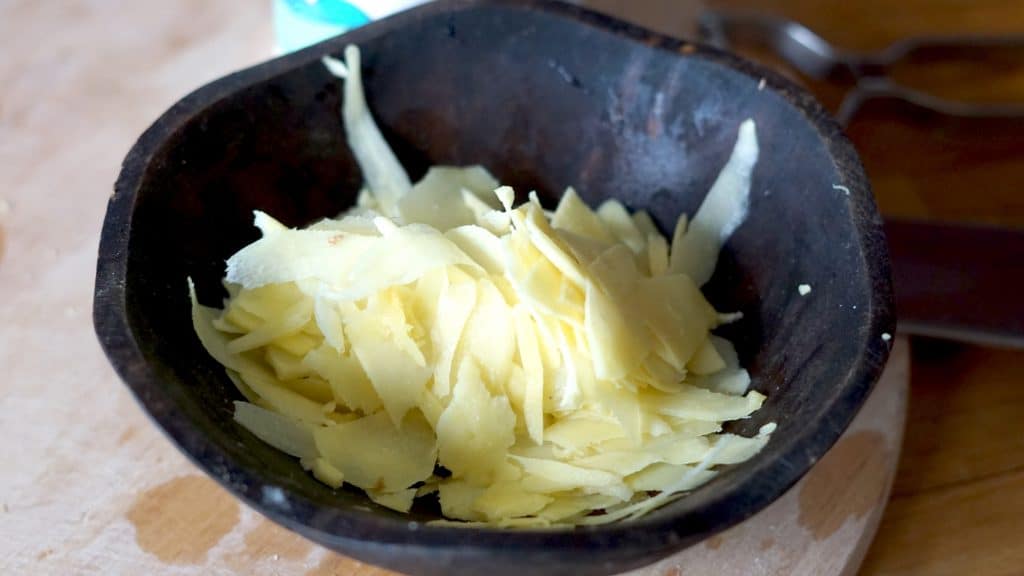
3. Slice the ginger thinly and salt the slices. Leave salted ginger slices in a bowl for 45 minutes.
4. Mix the rice vinegar and honey (or agave) as well as the sugar in a sauce-pan and bring to boil until the strong vinegar aroma has evaporated (ca.3-5 minutes).
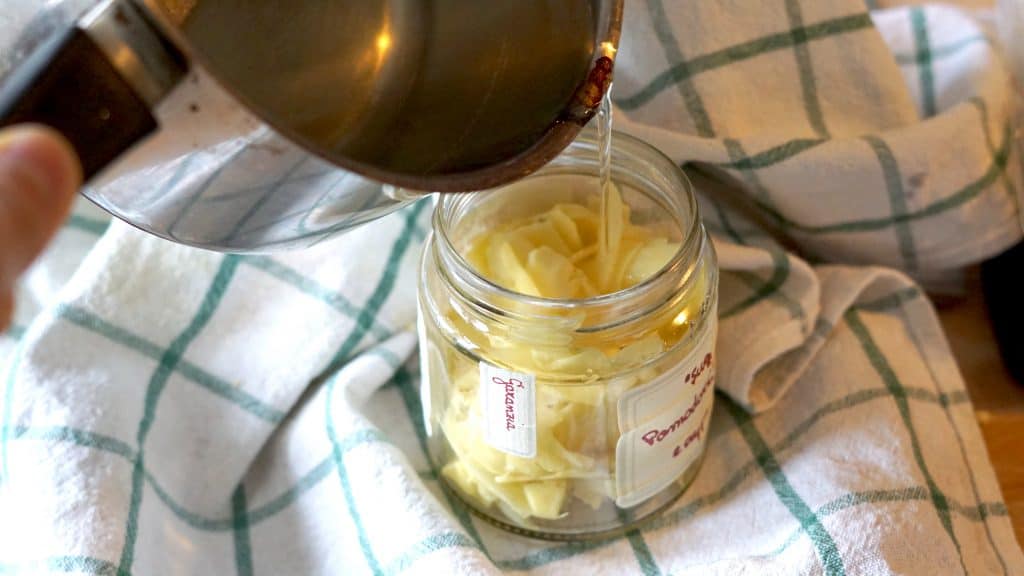
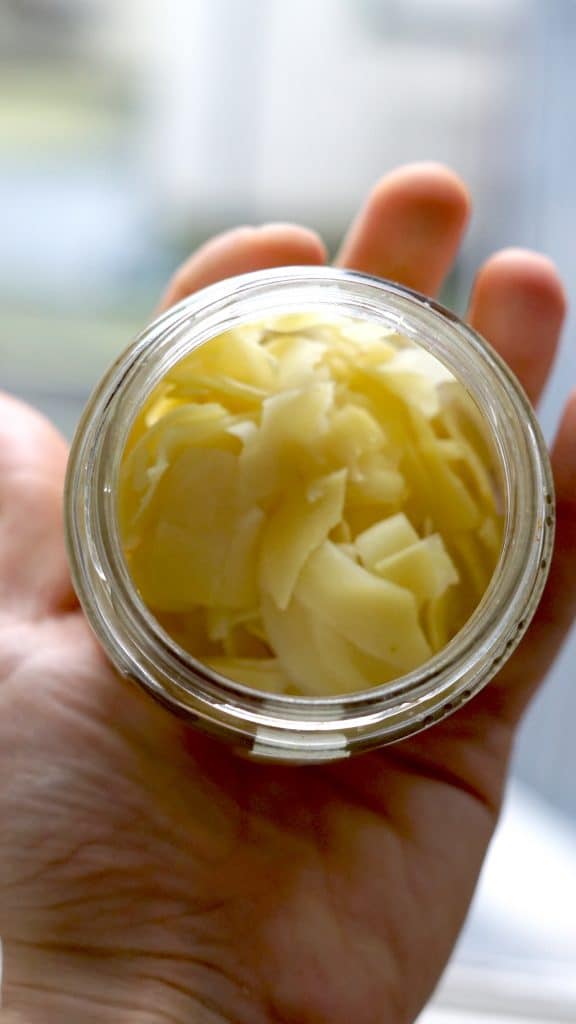
5. Dry the ginger slices with a clean towel and put them in a sterilized, heat-resistant glass jar. Pour the hot vinegar and sugar mixture over the ginger slices. Depending on how spicy you like your pickled ginger, you leave the broth in the jar. 2-3 minutes (spicy), 3-5 (medium).
6. Drain the slices in a sieve and let them cool by placing them on a paper towel in a single layer.
The pickled ginger sometimes changes its color to light pink. Despite you are using old ginger, then it might not turn pink.
7. Now squeeze the liquid out of the slices and place them in a jar. Make sure you always work in a clean environment and with clean hands in every process step.
8. Cover the jar, and place into your fridge. If handled everything properly and under hygienic conditions, the ginger may last up to one year in the fridge.
Do you want to know how to make your own sushi? Then follow our:
Simple sushi guide


What a great recipe. Definitely trying this soon. Thank you for this!
Just made the gari. It`s easy to make and tastes delicious. Thanks so much.