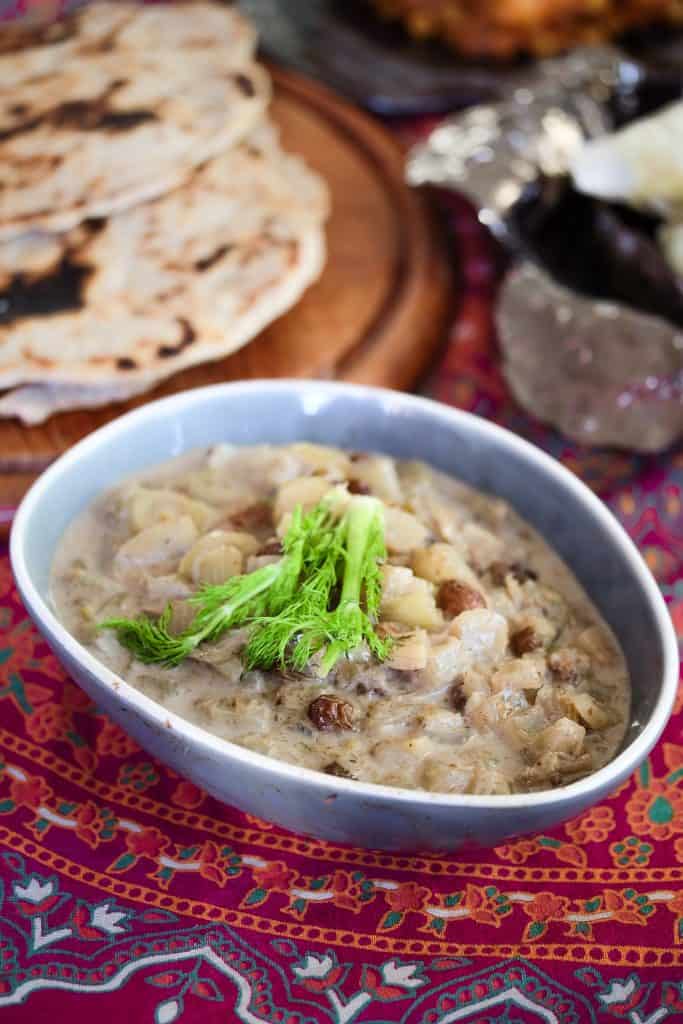
Mussels in Tomato Sauce “Classic Mussel recipe”
First fish recipe on this blog. Mussels in Tomao Sauce.
We have discussed wheather to post this or not for quite some time now and came to the conclusion: we said we are not going to restrict ourselves to one diet, so we are not going to restrict ourselves now.
For the cookbook, we had to develop quite some recipes including meat and fish, and we did this with quite some effort. Me, Claire, I have personally not tasted the recipes but we had an amzing respons from our roommates.
Let me tell you about the evening at which these Mussels have been celebratet. It was the birthday of my beloved roomate Simon and also the first weekend which we spent in Angers. Everyone was gathered around the table and you should have seen the faces when Mortz came in with the huge pot of mussels.
It was a real celebration! everyoe was just doing sounds of pleasure and you could see they all enjoyed it quite much.

Mussels in Tomatosauce – Truefoodsblog
How you do it:
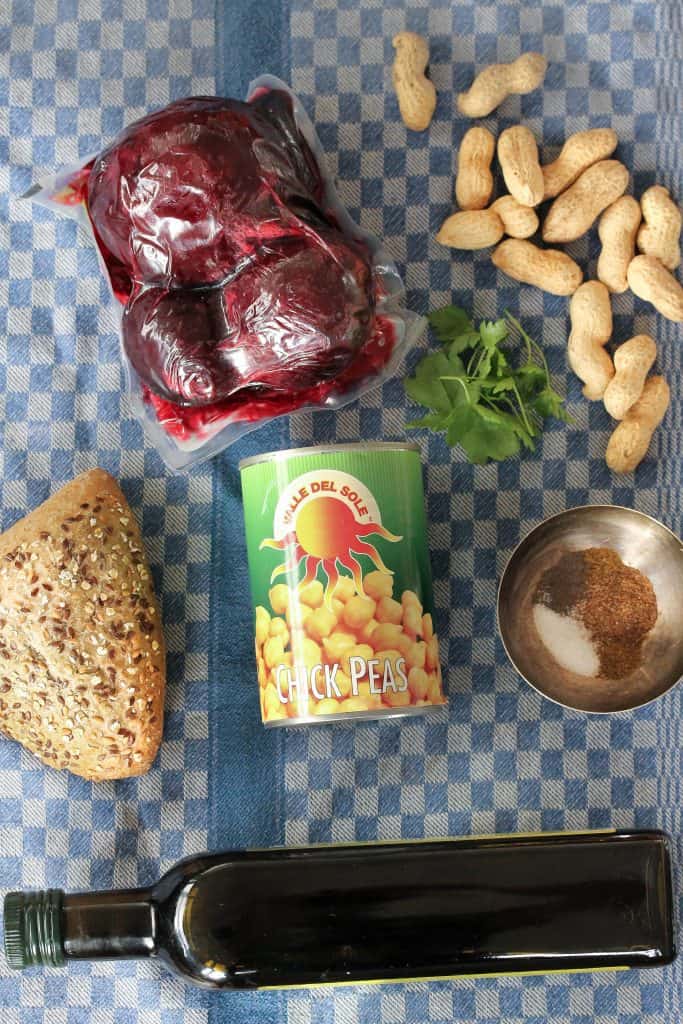
- Start with removing the beards of the mussels. Get rid of all the open mussels. Cut the Garlic and the onion into little pieces.
- preheat the oven to 160°C
- Add the onion and garlic to a pan with olive oil and stir until they are golden brown. Than add the herbs, the tomatoes, red wine and laurel leave and add a good amount of salt and pepper.
- Now add the mussels and close the pot with a lit. Add this to the oven for around 20 minutes. (when the heat soaks through the mussels they are getting even more tastier)
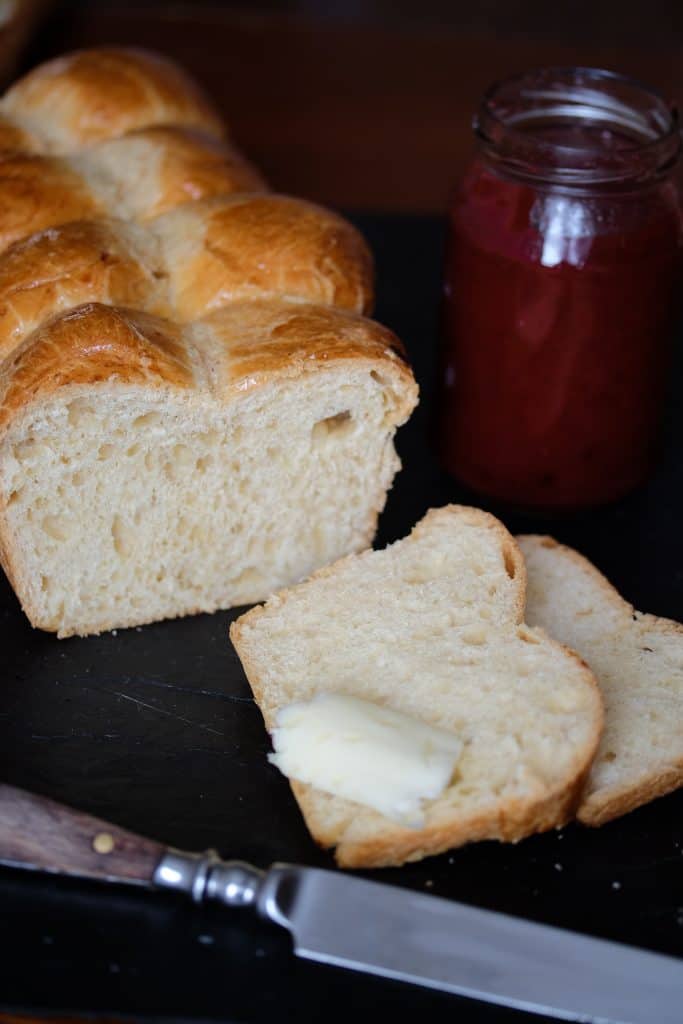
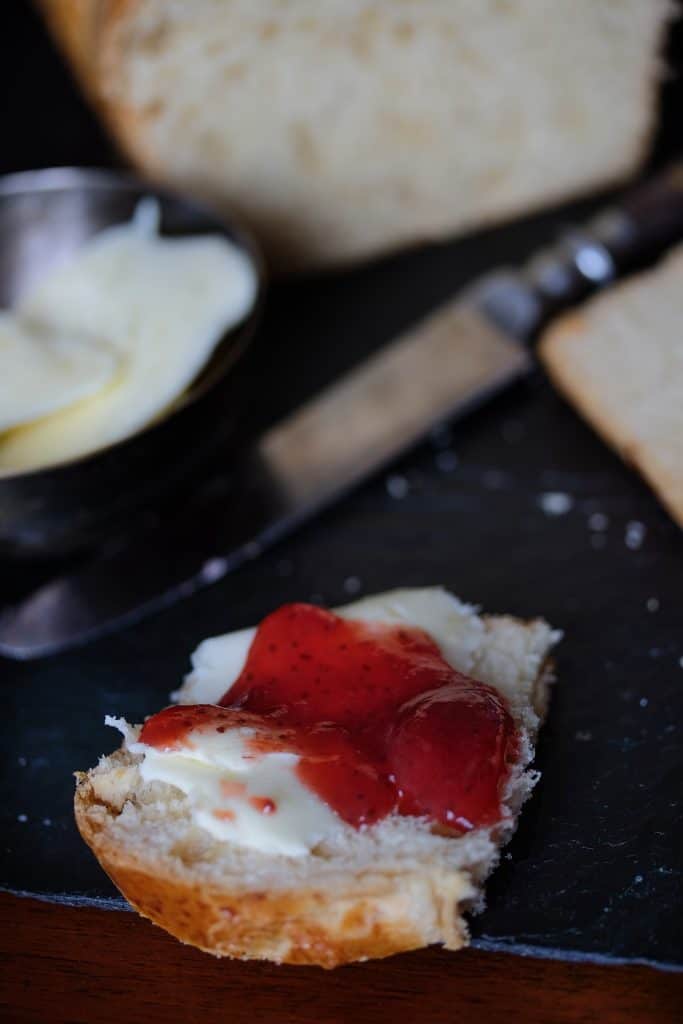
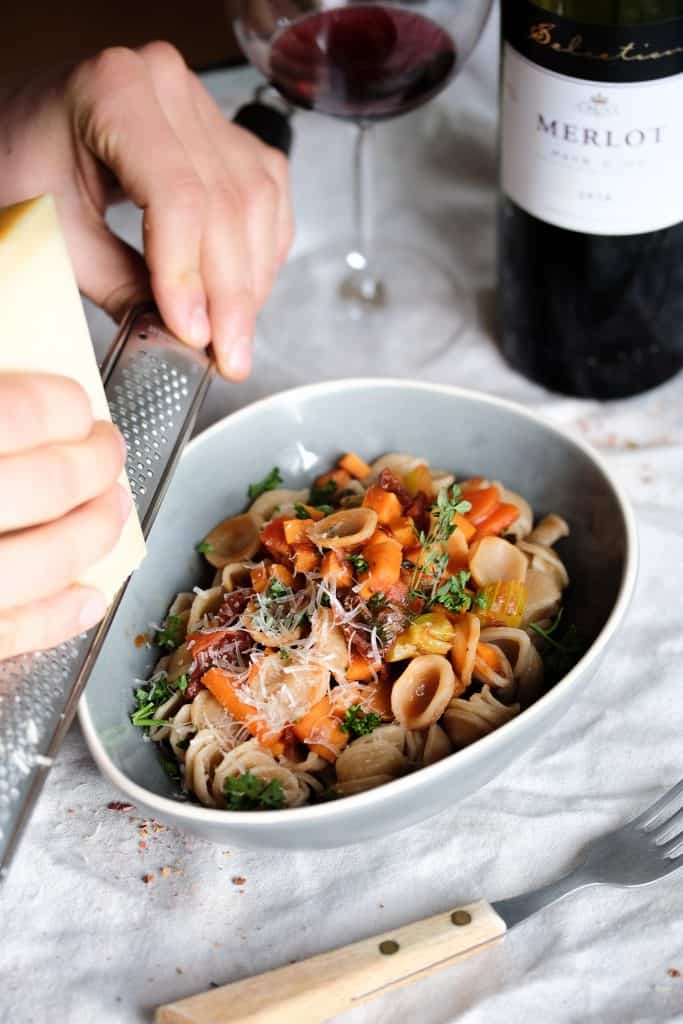
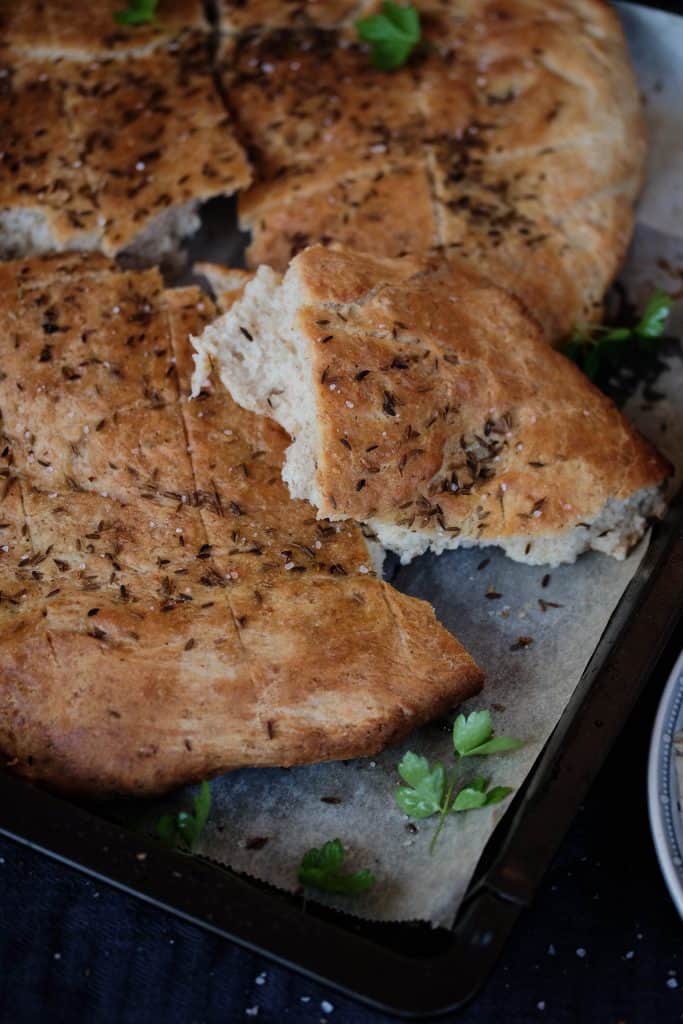
- Serve the mussles in a soup plate which has been heatened in the oven for a few minutes. Add some fresh bread and garnish with parsley and olive oil .
[amd-zlrecipe-recipe:98]