How to make Sushi – “Little extra: tips for idiot safe & sustainable Sushi rice”
How to make Sushi – “Little extra: tips for idiot safe & sustainable Sushi rice”
So last week we made Sushi on our own. Believe me or not- this ws the first time for me, eating sushi, wheres Moritz is a big sushi fan ever since. So this was also the frst time for me preparing suhsi as well, so excuse when its not perfect.
Of course when I am putting out content I want to deliver something special for you guys. Therefore, I did a lot of research on how to cook the best sushi rice ever. I am quite experienced in cooking good and sticky rice from the korean cooking evenings we have, so this ws actually the most fun.
Here is my little extra: This is the most SUSTAINABLE WAY OF CREATING THE BEST SUSHI RICE EVER.
so what makes this sustainble ? well, if you ever cooked sushi rice in a regular way you may have cooked it for around 40-60 miutes at least. With this method you only need to use the electricity and even waay less for only 10 minutes & you will be very surprised by the result !
How to do:
the sustainable sushi rice
- Start with washing your sushi rice with cold water. Wash it, so the starch comes out. The water should be milky and get less milky during the process. Wash the rice for around 4 times.
- Now let the rice soak in 500ml of cold water for around 15 min (you want to do this so the rice cooks equally at each point and it gets even more sticky). (Meanwhile you can start with slicing the red Pepper, Avocado, Tofu, Salmon and the cucumber.
- Now put all the rice and the water into a pot and heat it up – so here is the trick for you guys !!
- As soon as the rice starts boiling turn down the heat to a minimum. take a hand cloth and cover the pot with it, closing it with the lit.
- Let this cook for 10 minutes & DO NOT PEAK! We need to keep the steam inside 😉
- Meanwhile, take another pot & add the rice vinegar, cane sugar and the salt and heat this up until the sugar has dissolved.
- Put the rice into a big bowl and put the rice vinegar mixture on top & stir the rice!
- Cover it with the Cloth until you use the rice, so it does not dry out.
First Step:
Maki
- Start with frying your tofu in the sesame oil and set it aside to cool down a little bit.
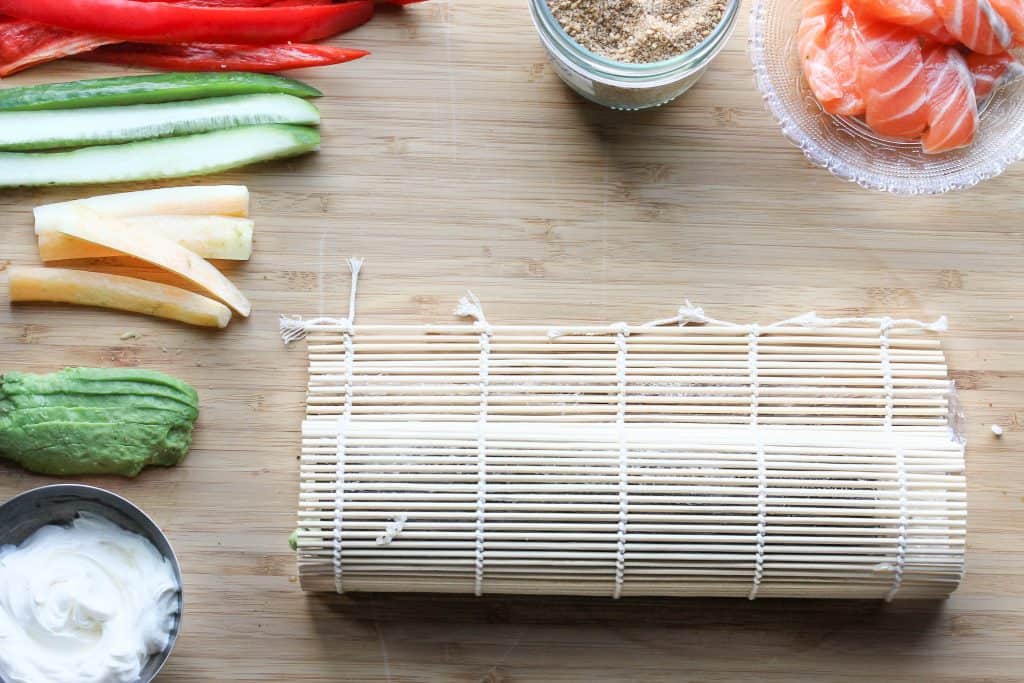
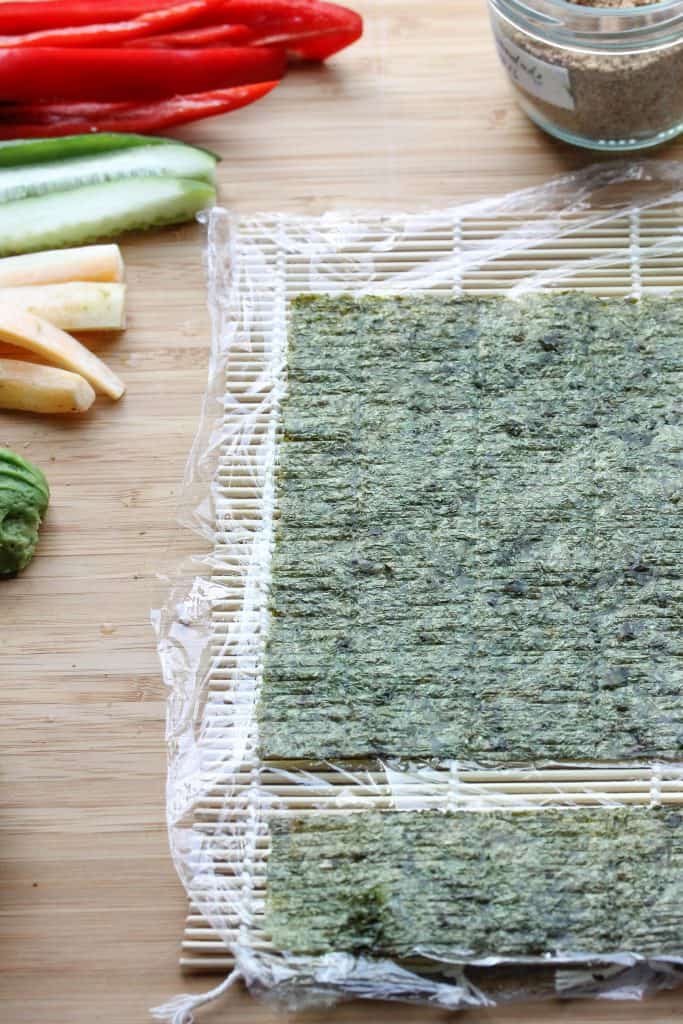
- The first step is to essambleyour sushi station. Therefore, you want to cover your Sushi roller with plastic foil, so nothing sticks. Also put all of your ingredients in the direct reach.
- Also take care that your rolling utility lies parallel to your board so you can roll it.
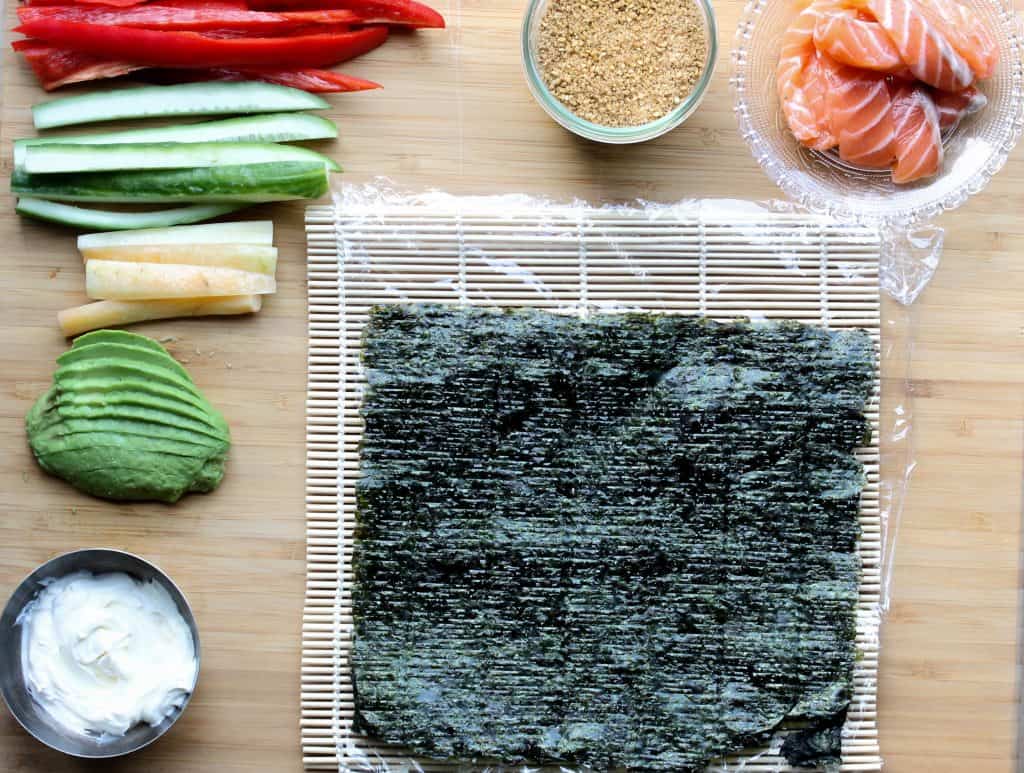
Sushi_Preperation_Truefoodsblog
Next Step:
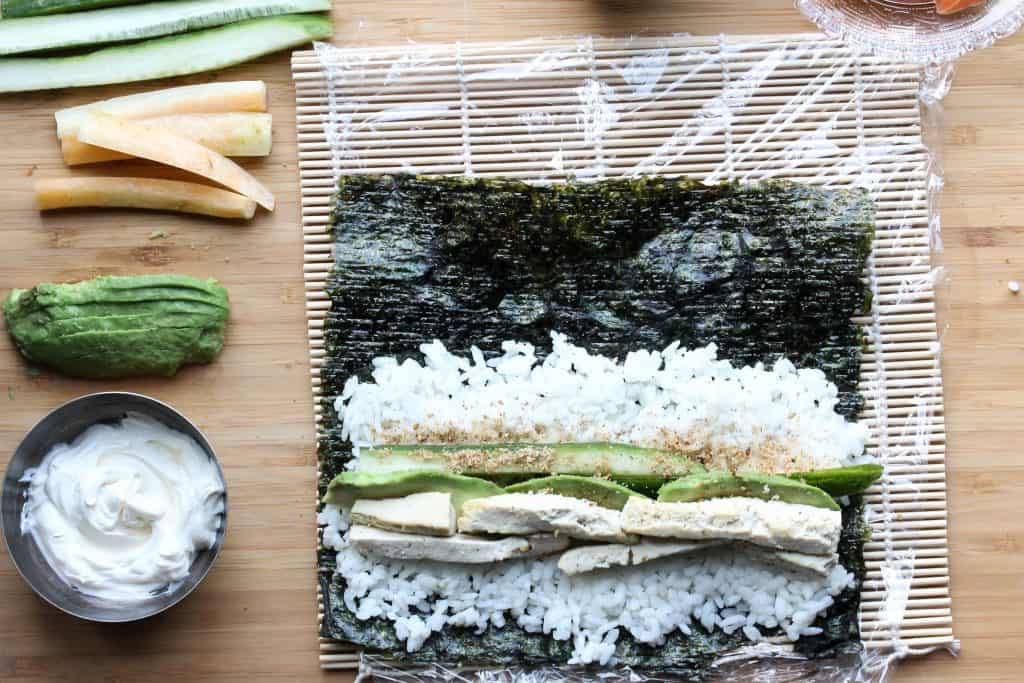
- Place the Nori sheet with the shiny side facing downwards.
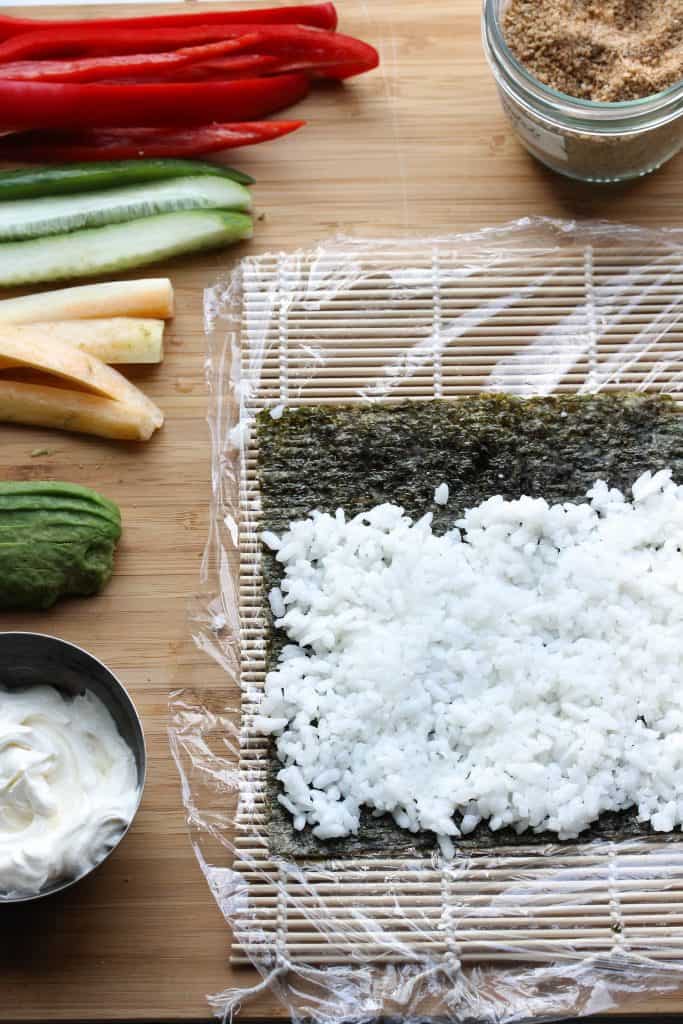
- Place the Sushi rice on top of your nori sheet, so its 3/4 covered and slightly press it down.
- make sure that it is not too thick & you can stil partly see the nori on some points.
- Add your Avocado, Sesame Seeds Tofu & the Cucumber slightly above your lower part of the nori sheet.
Sushi_Preparation_Step2_Truefoodsblog
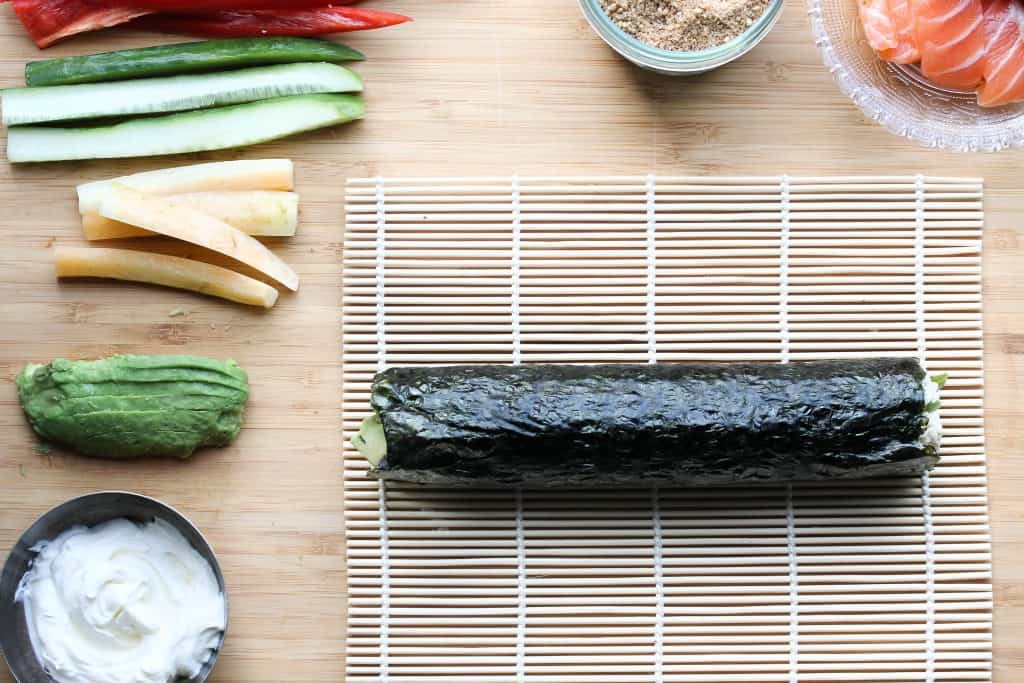
Roll it baby
- Now roll the lower part of your sheet. Carefully fold the edge under the first layer and use a little pressure while rolling it completly.

Sushi_Preparation_Step3_Truefoodsblog
Make it firm:
- Keep rollig it with a little more pressure until it feels quite firm.
Sushi_Preparation_Step4_Truefoodsblog
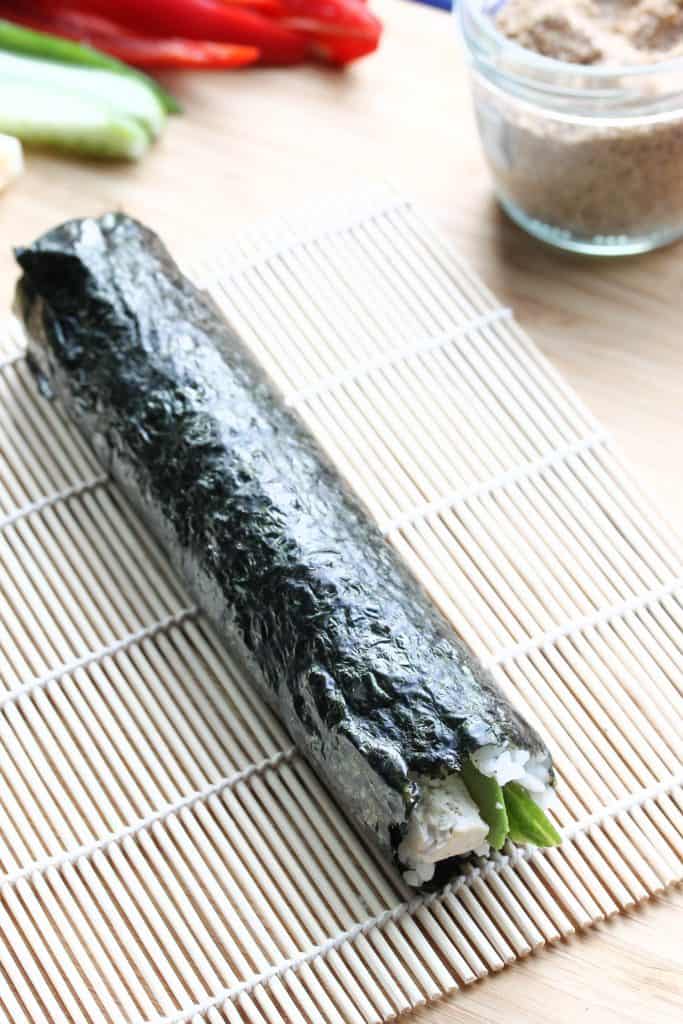
You’re almost done:
Now you just have to cut the Roll ! Terefore, use a sharp knife which you want to wet beforehands, as well as in between. Cut the Rolls into 2 thumb big pieces.
Sushi_Preparation_Step5_Truefoodsblog
Be proud of yourself. 😉 it took me three trials until the roll was finally good to use 😉 😛
Sushi_Preparation_Step6_Truefoodsblog
How to: California Rolls
For a vegan smoked salmon recipe click here
- the famours california rolls are special because they are rolled from the inside out.
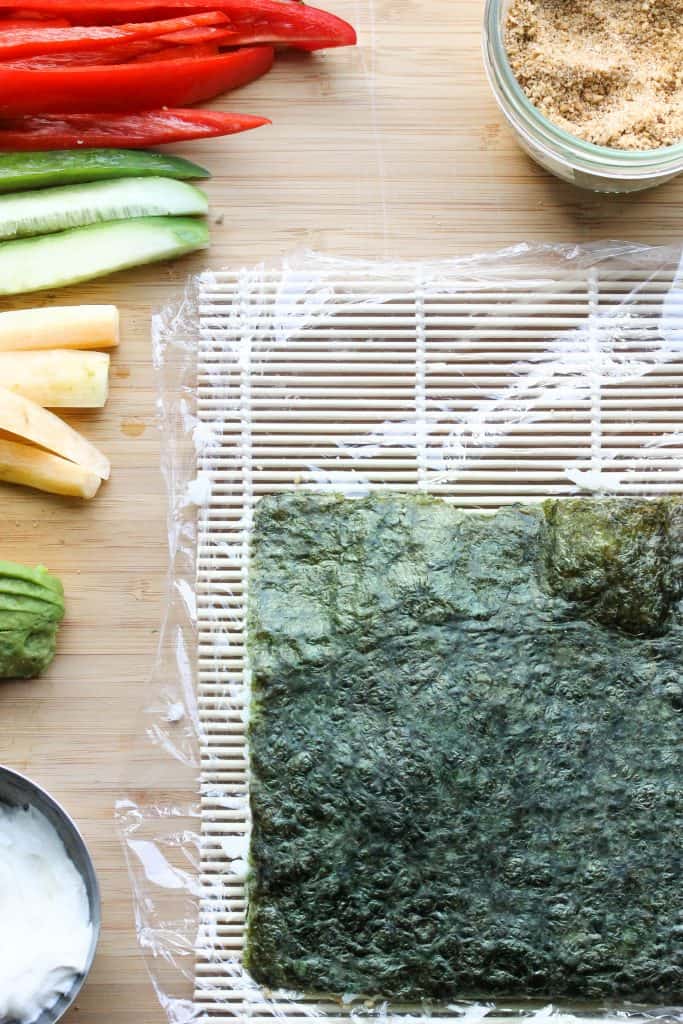
- Therefore, start to cut the end of the nori like you see it in the picture below. You do this because the Inside out rolls, require less of the nori than the normal rolls.
Sushi_Preparation_Inside_Out_1_Truefoodsblog
Put the rice on:
- Now put the rice on the nori, so 4/5 of the Nori is covered with the rice. Now make sure that the rice is not too thick but also coveres the whole nori.
Sushi_Preparation_Inside_Out_2_Truefoodsblog
Flip it around:
- Now comes a little tricky part. Take the nori into your hands and carefully flip it upside down.
- Spread sesame seeds on top.
Sushi_Preparation_Inside_Out_3_Truefoodsblog
Stuff it!
- Start with spreading the cream cheese in the middle of the nori.
- Put the salmon, pepper, cucumber and the avocado on the cream cheese stripe.
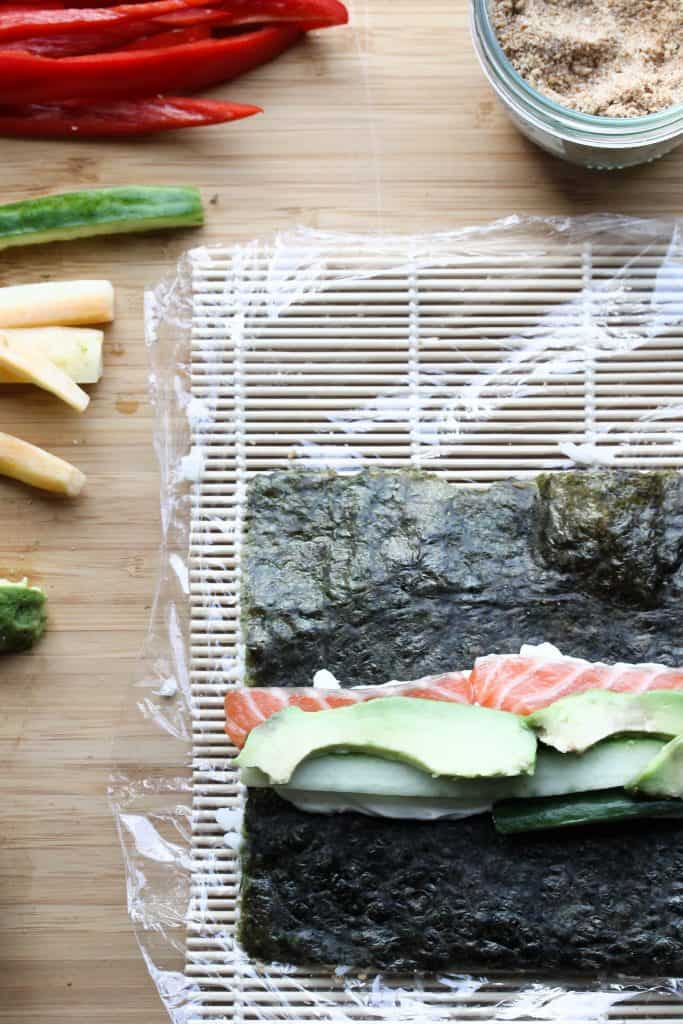
Suhsi_Preparation_Inside_Out_4_Truefoodsblog
Keep Rolling
- Roll it like described in the first paragraph. MAKE IT FIRM, but not too firm 😉
Sushi_Preparation_Step3_Truefoodsblog
Roll until you are happy with the result.

Sushi_Preparation_Inside_Out_5_Truefoodsblog
The end:
When you have cut all the rolls into your pieces, serve the suhsi with sweet ginger, wasabi and a good tamari soy sauce aside. ENJOY !
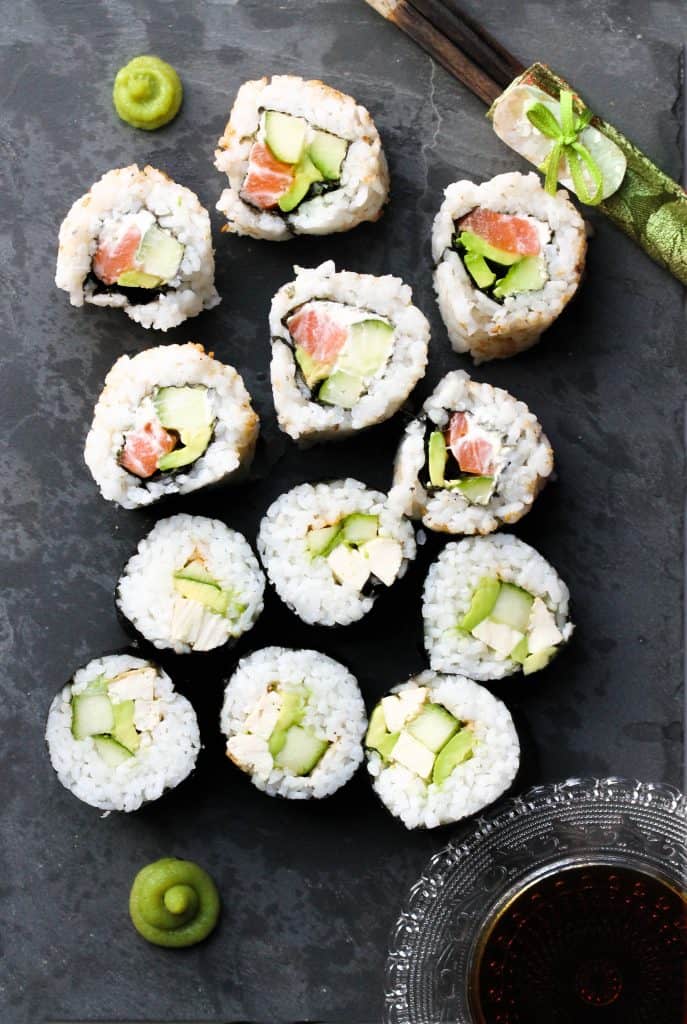
Sushi_Truefoodsblog